Repair a kite string
Table of contents
Kite line is a key element for safe and high-performance flying. A strong line provides better control of the kite, resists wind gusts, and helps prevent accidents.
In this article, discover how to choose the lines for building and repairing a kite.
Types of kite lines
Kite line should combine:
- Strength to withstand the wind and the weight of the kite.
- Lightness so as not to hinder flight.
- Visibility to easily spot the line in the sky.
- Durability against friction and the elements.
To meet these requirements, we have selected two types of HMPE lines, a high-strength synthetic fiber.
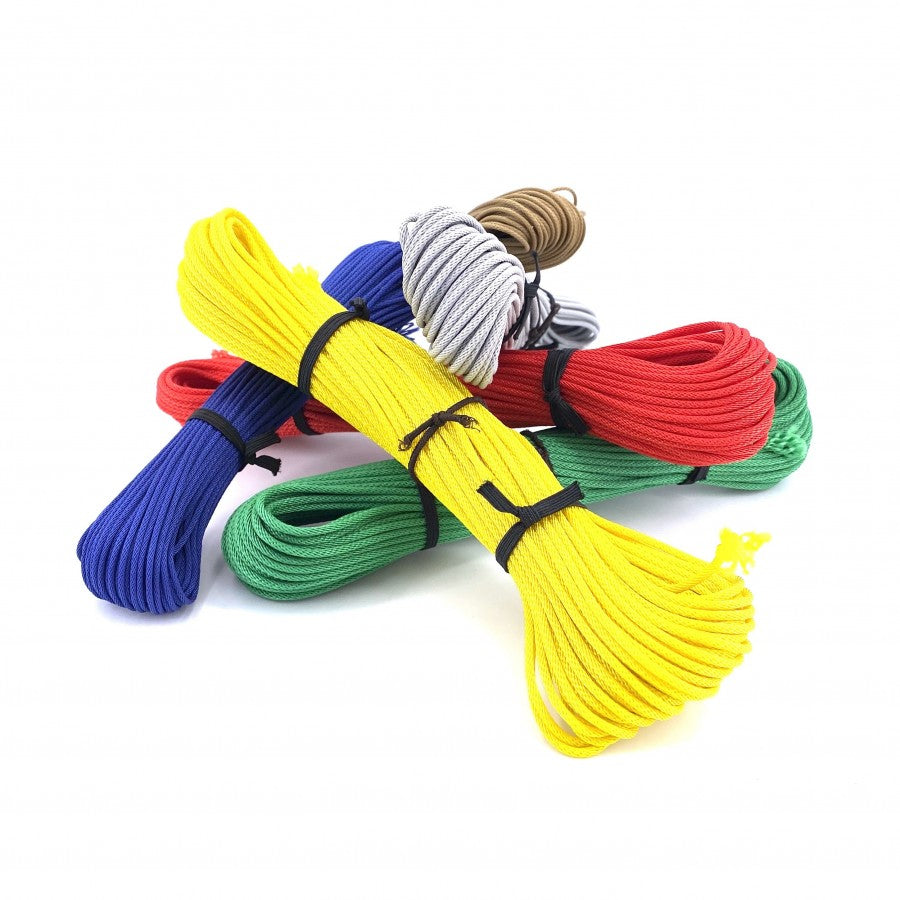
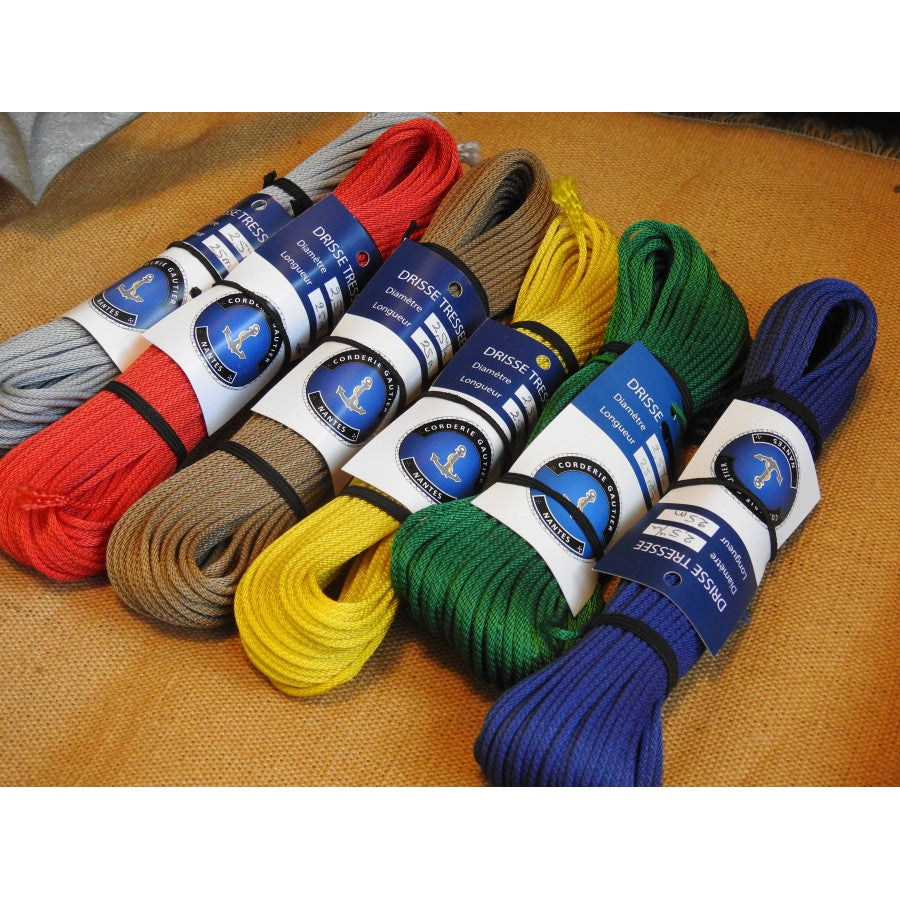
Colored braided line
Polyamide colored braided line is particularly suitable for repairing bridle lines and secondary kite components.
Flexible and easy to tie, it absorbs some of the jerks caused by wind gusts.
Its bright colors also make it easy to identify the different attachment points during assembly or maintenance.
It is perfectly suited for recreational kites, decorative models, and repairs requiring good line visibility.
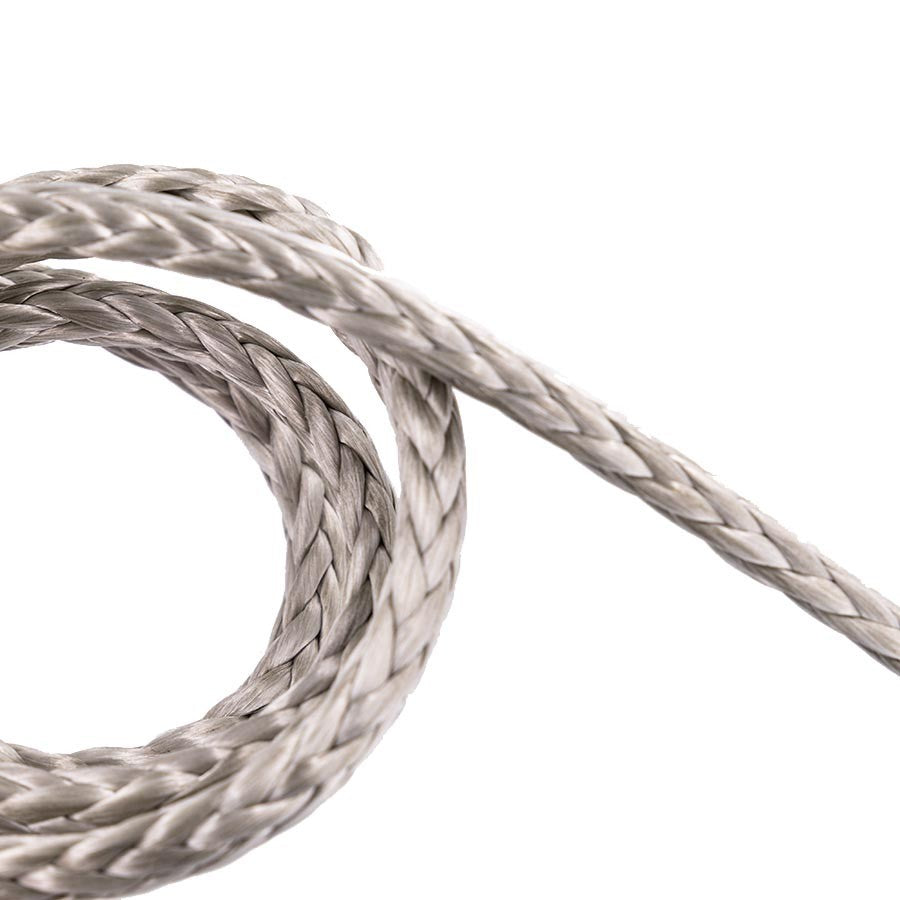
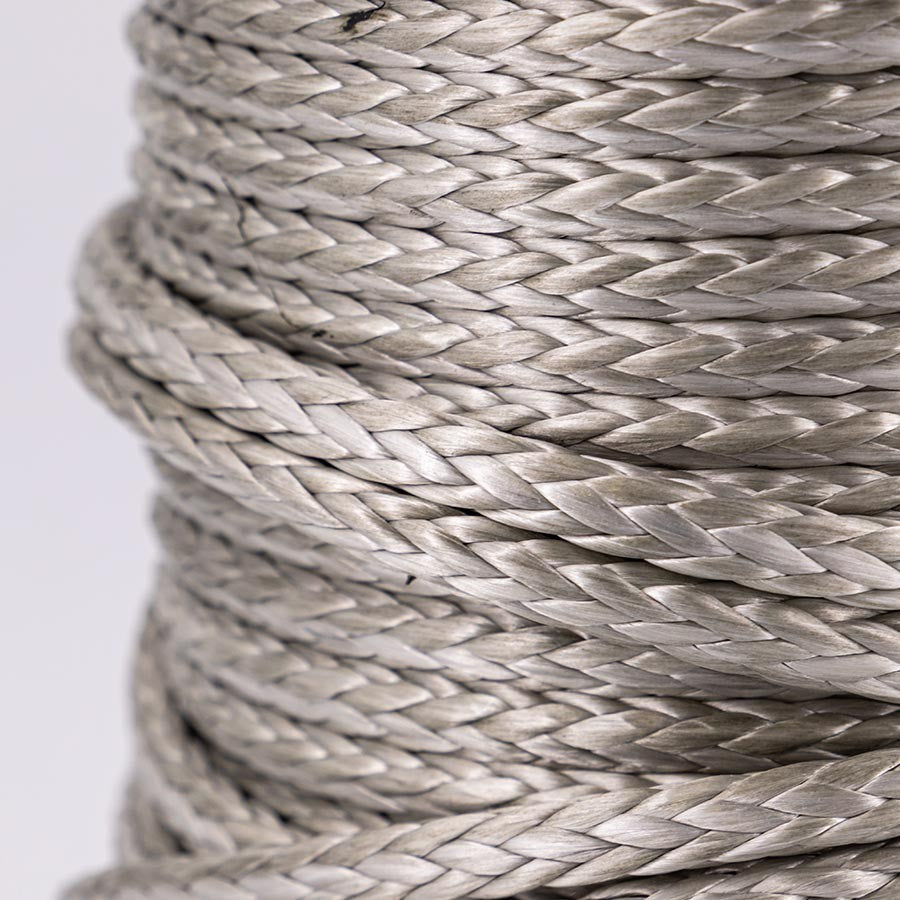
Dyneema®
Pure Dyneema® is recommended for pull lines and repairs subjected to high mechanical stress.
This high-performance fiber offers exceptional strength for a very small diameter, which limits wind resistance and improves steering precision.
Highly resistant to abrasion, UV rays, moisture, and salt, Dyneema® maintains its performance over time, even with regular use by the sea. It is particularly suited for acrobatic kites, pull kites, or main lines requiring maximum safety.
💡 Tip: for kites used near water or by the sea, choose Dyneema, which is resistant to salt and moisture.

How to repair a kite line?
Here are the steps to replace a kite line:
1. Measure the line length according to your kite
The length of the line depends mainly on the size of the kite and its intended use.
- Small recreational kite: 20 to 50 m of line is generally sufficient.
- Large power or decorative kite: choose 50 to 100 m to enjoy more consistent wind at altitude.
- Acrobatic kite: use lines of the same length, generally between 20 and 35 m, to maintain good steering precision.
The longer the line, the higher the kite can fly, but control also becomes more difficult.
2. Join two sections of line
Several solutions are available for repairing or extending a line:
- Use a double fisherman's knot to join two lines of the same diameter.
- Create a loop at each end, then join them with a bowline for a quick and reliable connection.
- For Dyneema®, a splice is often the strongest solution when possible.
Once the connection is made, check that the knot is tight and cut off any excess line if necessary.
3. Check the line before flying
Before launching your kite:
- Pull firmly on the line to check the strength of the connections.
- Check that no part of the line is worn or frayed.
- Make sure the knots do not slip.
- Unroll a few meters of line to check that it is neither twisted nor weakened.
A few minutes of checking can often prevent a line break mid-flight.
Maintenance
Rinse your kite lines after use by the sea to remove salt and sand. Let them dry completely before storing them, and regularly check areas subject to friction.
For Dyneema® lines, check for wear or fraying and wind them carefully after each use to prevent twists.
Our tips for extending the life of your kite lines:
- Avoid sudden pulls and excessive jerks.
- Store your lines in a dry place, away from UV rays when not in use.
- Regularly check the condition of knots, connections, and the most stressed sections.
- Wind the line carefully after each use to prevent knots and twists.
Need advice? Contact our line experts!